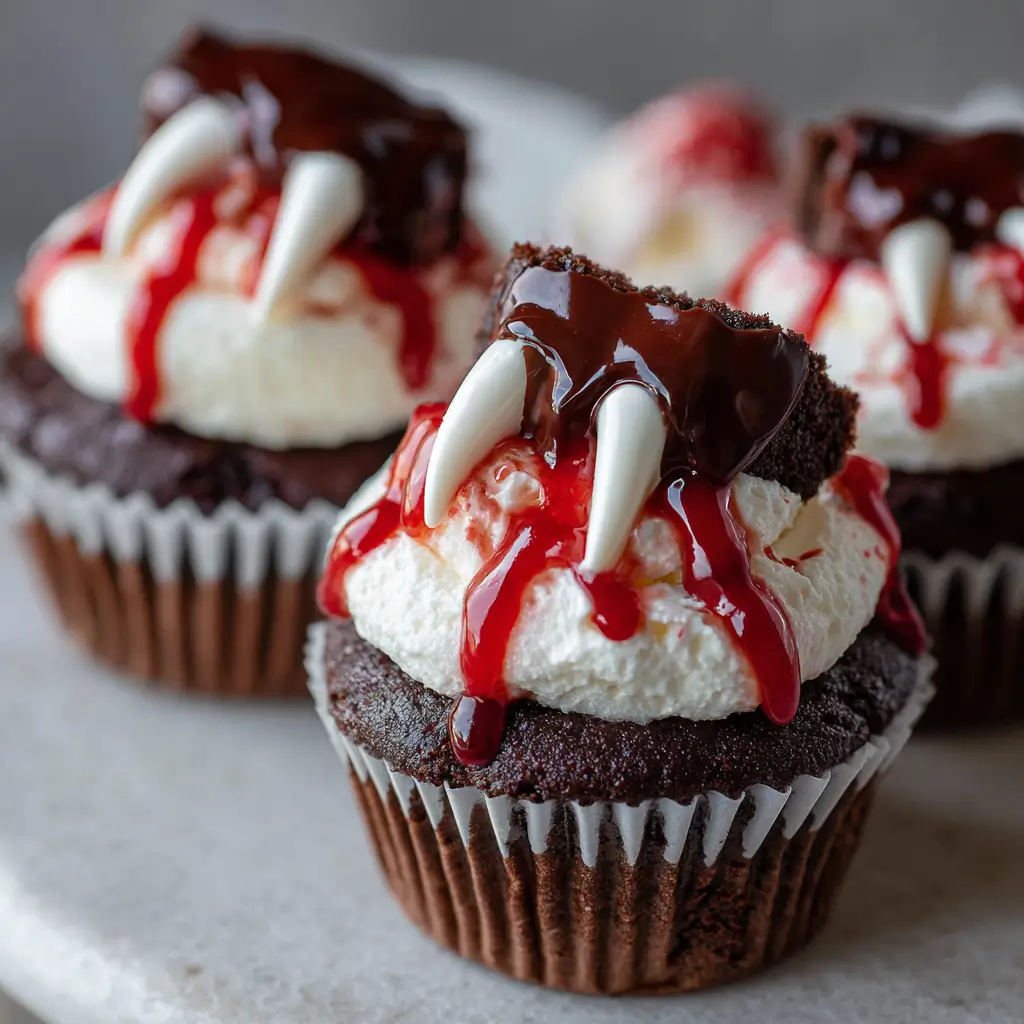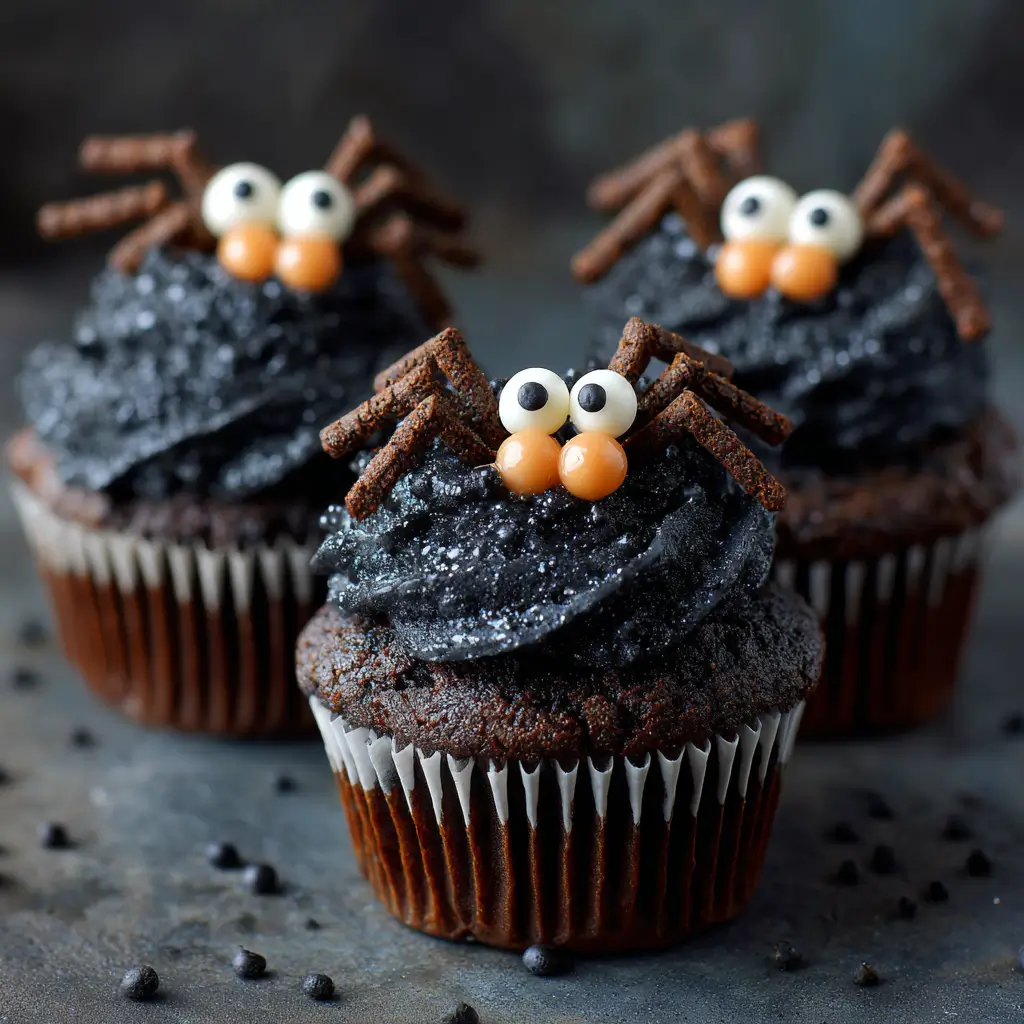
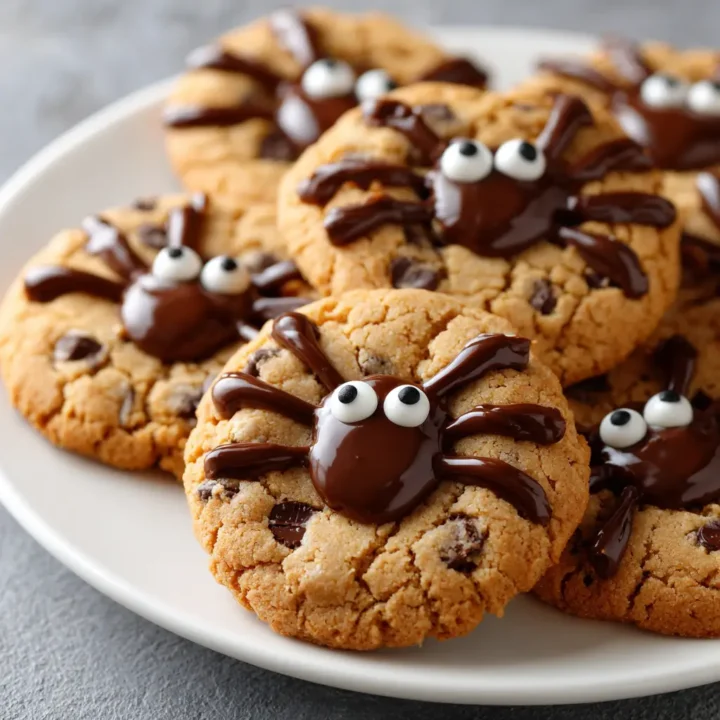
Are you ready to elevate your Halloween festivities with a treat that’s not only delicious but also visually captivating? Peanut Butter Spider Cookies are the perfect blend of rich flavors and spooky aesthetics that will impress your guests and satisfy your sweet tooth. Did you know that cookies are one of the most popular homemade treats during Halloween, with families often spending hours decorating them? In this post, we’ll explore how to make these delightful cookies while ensuring they are easy to prepare and fun to eat. Let’s dive into the world of Peanut Butter Spider Cookies!
Ingredients List
To create your Peanut Butter Spider Cookies, you’ll need the following ingredients:
- 1 cup creamy peanut butter (or crunchy for added texture)
- 1 cup granulated sugar
- 1 cup brown sugar (packed)
- 2 large eggs
- 1 teaspoon vanilla extract
- 2 cups all-purpose flour
- 1 teaspoon baking soda
- 1/2 teaspoon salt
- 1 cup chocolate chips (semi-sweet or dark)
- Candy eyes for decoration
- Red gel food coloring (optional, for a bloody effect)
Substitutions:
- Nut Allergies: Substitute peanut butter with almond butter or sunflower seed butter.
- Sugar Alternatives: Use coconut sugar or a sugar substitute like erythritol for a healthier option.
- Gluten-Free: Replace all-purpose flour with a gluten-free flour blend.
Step-by-Step Instructions
Step 1: Preheat the Oven
Preheat your oven to 350°F (175°C). This ensures that your cookies bake evenly and achieve that perfect golden-brown color.
Step 2: Mix the Wet Ingredients
In a large mixing bowl, combine 1 cup of creamy peanut butter, 1 cup of granulated sugar, 1 cup of brown sugar, 2 large eggs, and 1 teaspoon of vanilla extract. Beat the mixture until it’s smooth and creamy. This step is crucial for achieving the right texture in your cookies.
Step 3: Combine Dry Ingredients
In a separate bowl, whisk together 2 cups of all-purpose flour, 1 teaspoon of baking soda, and 1/2 teaspoon of salt. Gradually add this dry mixture to the wet ingredients, stirring until just combined. Be careful not to overmix, as this can lead to tough cookies.
Step 4: Fold in Chocolate Chips
Gently fold in 1 cup of chocolate chips into the cookie dough. This will add a rich chocolatey flavor that complements the peanut butter beautifully.
Step 5: Shape the Cookies
Using a tablespoon, scoop out dough and roll it into balls. Place them on a baking sheet lined with parchment paper, spacing them about 2 inches apart. Flatten each ball slightly with the back of a fork to create a crisscross pattern.
Step 6: Bake
Bake the cookies in your preheated oven for 10-12 minutes or until the edges are lightly golden. The centers may look slightly underbaked, but they will firm up as they cool.
Step 7: Decorate
Once the cookies have cooled, melt some chocolate and use it to create spider legs on each cookie. Place candy eyes on top for a fun and spooky effect. For an extra touch, add a few drops of red gel food coloring around the legs to mimic blood.

Nutritional Information
Here’s a breakdown of the nutritional content per cookie (based on 24 cookies):
- Calories: 150
- Total Fat: 8g
- Saturated Fat: 2g
- Cholesterol: 20mg
- Sodium: 70mg
- Total Carbohydrates: 18g
- Dietary Fiber: 1g
- Sugars: 10g
- Protein: 3g
Healthier Alternatives for the Recipe
If you’re looking to make your Peanut Butter Spider Cookies a bit healthier, consider these alternatives:
- Use Whole Wheat Flour: This increases fiber content and adds a nuttier flavor.
- Reduce Sugar: Cut down the granulated sugar by 1/4 cup without compromising taste.
- Add Oats: Incorporate rolled oats for added texture and fiber.
Serving Suggestions
These cookies are perfect for Halloween parties, but you can also serve them in various creative ways:
- Cookie Platter: Arrange them on a spooky-themed platter with other Halloween treats.
- With Milk: Pair them with a glass of cold milk or a spooky punch for a delightful snack.
- Gift Bags: Package them in clear bags tied with orange ribbons for a fun Halloween gift.
Common Mistakes to Avoid
To ensure your Peanut Butter Spider Cookies turn out perfectly, avoid these common pitfalls:
- Overmixing the Dough: This can lead to tough cookies; mix just until combined.
- Not Measuring Ingredients Accurately: Use a kitchen scale for precision, especially with flour.
- Baking at the Wrong Temperature: Always preheat your oven to ensure even baking.
Storing Tips for the Recipe
To keep your cookies fresh and delicious:
- Room Temperature: Store in an airtight container at room temperature for up to a week.
- Freezing: Freeze unbaked cookie dough in balls for up to 3 months. Bake directly from the freezer, adding a couple of minutes to the baking time.
- Frosted Cookies: If decorated, store them in a single layer in an airtight container to prevent smudging.
Conclusion
In summary, Peanut Butter Spider Cookies are a delightful and easy-to-make Halloween treat that combines rich flavors with a spooky appearance. With simple ingredients and quick preparation, they are perfect for any festive occasion. Try making them, and don’t forget to share your experience in the comments below or subscribe for more delicious recipes!
FAQs
Q1: Can I make these cookies ahead of time?
Yes! You can prepare the dough and freeze it for up to three months. Just thaw and bake when you’re ready.
Q2: Are these cookies suitable for gluten-free diets?
You can make them gluten-free by using a gluten-free flour blend as a substitute for all-purpose flour.
Q3: How can I make these cookies less sweet?
Reduce the amount of sugar by 1/4 cup or use a sugar substitute to maintain sweetness without the extra calories.
Peanut Butter Spider Cookies
Ingredients
- 1 cup creamy peanut butter (or crunchy for added texture)
- 1 cup granulated sugar
- 1 cup brown sugar (packed)
- 2 large eggs
- 1 teaspoon vanilla extract
- 2 cups all-purpose flour
- 1 teaspoon baking soda
- 1/2 teaspoon salt
- 1 cup chocolate chips (semi-sweet or dark)
- Candy eyes for decoration
- Red gel food coloring (optional, for a bloody effect)
Instructions
Step 1: Preheat the Oven
Preheat your oven to 350°F (175°C). This ensures that your cookies bake evenly and achieve that perfect golden-brown color.
Step 2: Mix the Wet Ingredients
In a large mixing bowl, combine 1 cup of creamy peanut butter, 1 cup of granulated sugar, 1 cup of brown sugar, 2 large eggs, and 1 teaspoon of vanilla extract. Beat the mixture until it's smooth and creamy. This step is crucial for achieving the right texture in your cookies.
Step 3: Combine Dry Ingredients
In a separate bowl, whisk together 2 cups of all-purpose flour, 1 teaspoon of baking soda, and 1/2 teaspoon of salt. Gradually add this dry mixture to the wet ingredients, stirring until just combined. Be careful not to overmix, as this can lead to tough cookies.
Step 4: Fold in Chocolate Chips
Gently fold in 1 cup of chocolate chips into the cookie dough. This will add a rich chocolatey flavor that complements the peanut butter beautifully.
Step 5: Shape the Cookies
Using a tablespoon, scoop out dough and roll it into balls. Place them on a baking sheet lined with parchment paper, spacing them about 2 inches apart. Flatten each ball slightly with the back of a fork to create a crisscross pattern.