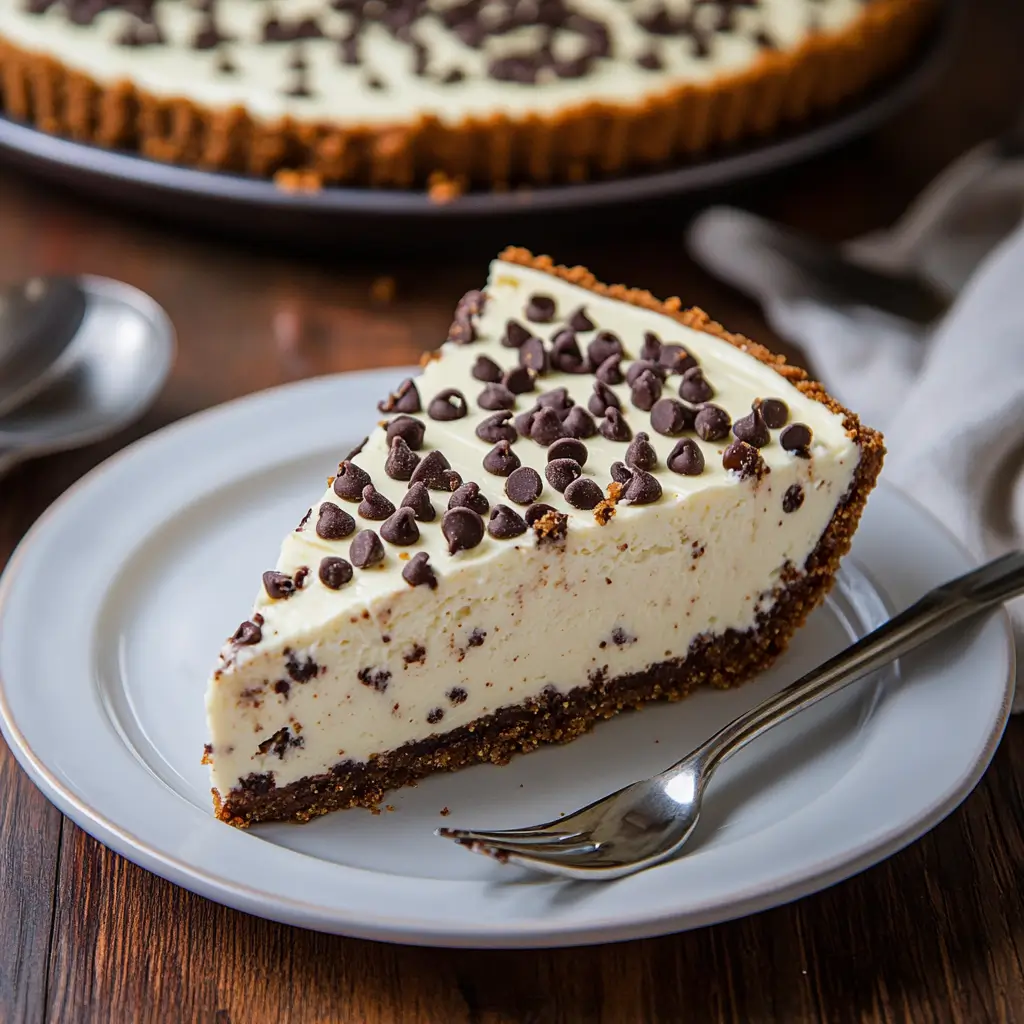
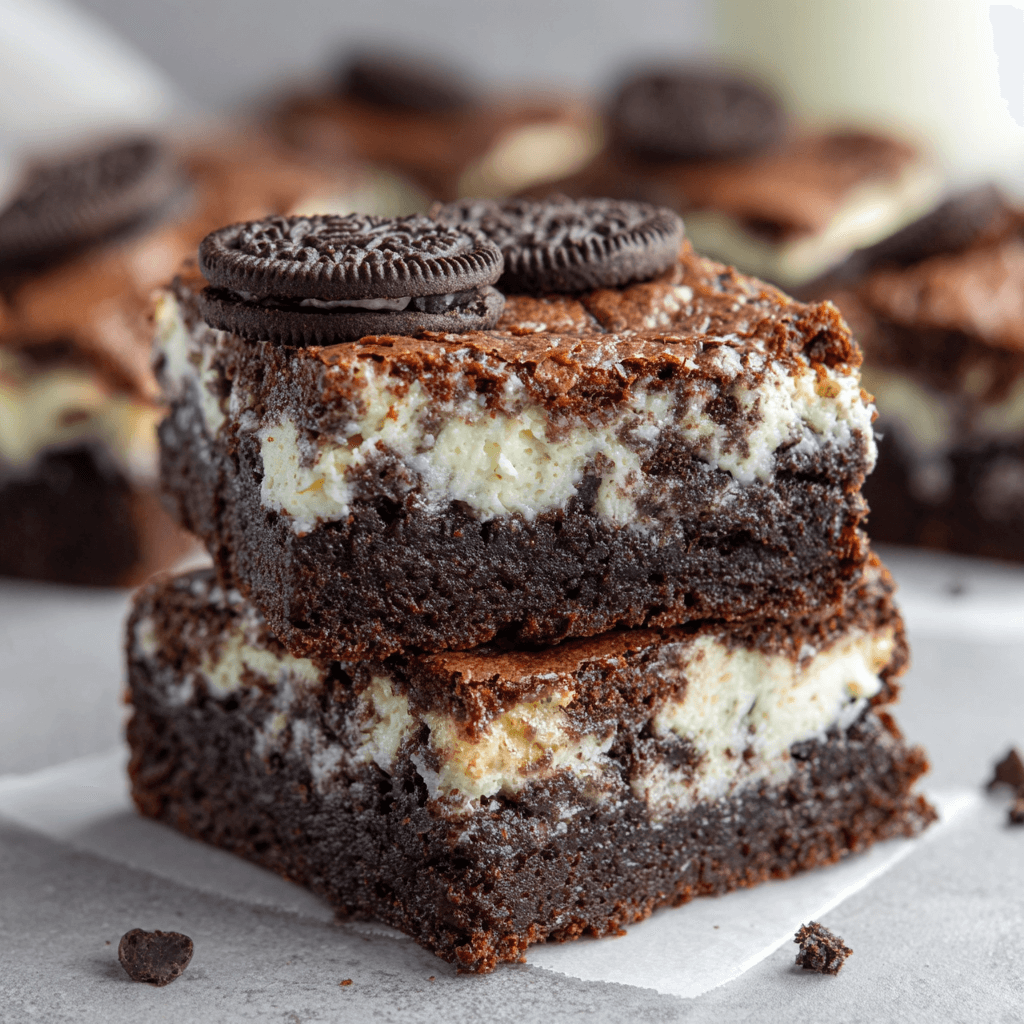
Cookies and Cream Brownies are a deliciously indulgent dessert that combines rich chocolate brownies with creamy Oreo cookies. This easy-to-make treat is perfect for any occasion and is sure to satisfy your sweet tooth. With a fudgy texture and a delightful crunch from the cookies, these brownies are a crowd-pleaser!
Ingredients List
For the Brownie Base:
- 1/2 cup (1 stick) unsalted butter
- 1 cup granulated sugar
- 2 large eggs
- 1 teaspoon vanilla extract
- 1/3 cup unsweetened cocoa powder
- 1/2 cup all-purpose flour
- 1/4 teaspoon salt
- 1/4 teaspoon baking powder
For the Cookies and Cream Layer:
- 1 cup cream cheese, softened
- 1/2 cup powdered sugar
- 1 teaspoon vanilla extract
- 10–12 Oreo cookies, crushed
For Topping:
- 6–8 Oreo cookies, crushed (for topping)
- Optional: Chocolate drizzle for garnish
Timing
Preparing Cookies and Cream Brownies takes about 15 minutes of prep time and 25–30 minutes of baking time. Total time is approximately 45 minutes.
Step-by-Step Instructions
Step 1: Preheat Oven
Preheat your oven to 350°F (175°C). Grease and line an 8×8-inch baking pan with parchment paper, leaving some overhang for easy removal.
Step 2: Make the Brownie Base
- Melt the butter in a medium saucepan over low heat. Remove from heat and stir in the sugar, eggs, and vanilla until well combined.
- In a separate bowl, whisk together cocoa powder, flour, salt, and baking powder.
- Gradually add the dry ingredients to the wet mixture, stirring until just combined. Do not overmix.
- Spread the brownie batter evenly into the prepared baking pan.
Step 3: Prepare the Cookies and Cream Layer
- In a medium bowl, beat the softened cream cheese until smooth.
- Add powdered sugar and vanilla extract, beating until combined.
- Gently fold in the crushed Oreos.
Step 4: Assemble the Brownies
- Spread the cookies and cream mixture evenly over the brownie batter.
- Use a knife or spatula to lightly swirl the two layers together.
- Sprinkle the additional crushed Oreos on top.
Step 5: Bake
- Bake for 25–30 minutes, or until the edges are set and a toothpick inserted in the center comes out with a few moist crumbs.
- Let cool completely in the pan on a wire rack before lifting out using the parchment paper.
Step 6: Serve
Once cooled, cut into squares and serve. Drizzle with chocolate if desired.
Nutritional Information
Per serving (makes about 12):
| Nutrient | Amount per Serving |
|---|---|
| Calories | 250 |
| Protein | 3g |
| Fat | 12g |
| Carbohydrates | 34g |
| Fiber | 1g |
Healthier Alternatives for the Recipe
- Use whole wheat flour instead of all-purpose flour.
- Substitute Greek yogurt for some of the cream cheese.
- Use a sugar substitute if desired.
Serving Suggestions
- Serve with a scoop of vanilla ice cream for an extra treat.
- Add whipped cream for added creaminess.
- Pair with fresh berries for a refreshing contrast.
Common Mistakes to Avoid
- Overbaking the Brownies: Keep an eye on the baking time to ensure they stay fudgy.
- Not Softening Cream Cheese: Make sure the cream cheese is softened for a smooth filling.
- Skipping the Parchment Paper: Lining the pan makes it easier to lift out the brownies.
Storing Tips for the Recipe
Cookies and Cream Brownies can be stored in an airtight container at room temperature for up to 3 days or in the refrigerator for up to a week. They can also be frozen for up to 3 months; just wrap them tightly in plastic wrap and aluminum foil.
Conclusion
In just about 45 minutes, you can create delicious Cookies and Cream Brownies that are perfect for any occasion. With their rich chocolate flavor and creamy Oreo filling, they are sure to be a hit with family and friends!
FAQs
Can I make these brownies ahead of time?
Yes! You can prepare the brownies a day in advance and store them in the refrigerator until ready to serve.
What can I use instead of Oreos?
You can use any chocolate sandwich cookies or even homemade chocolate cookies for a different flavor.
Can I add nuts to the brownies?
Absolutely! Feel free to add chopped nuts to the brownie batter for added texture.
Is this recipe suitable for freezing?
Yes, these brownies freeze well. Just ensure they are well-wrapped to prevent freezer burn.

Cookies and Cream Brownies: A Decadent Delight
Ingredients
- For the Brownie Base:
- • 1/2 cup (1 stick) unsalted butter
- • 1 cup granulated sugar
- • 2 large eggs
- • 1 teaspoon vanilla extract
- • 1/3 cup unsweetened cocoa powder
- • 1/2 cup all-purpose flour
- • 1/4 teaspoon salt
- • 1/4 teaspoon baking powder
- For the Cookies and Cream Layer:
- • 1 cup cream cheese, softened
- • 1/2 cup powdered sugar
- • 1 teaspoon vanilla extract
- • 10–12 Oreo cookies, crushed
- For Topping:
- • 6–8 Oreo cookies, crushed (for topping)
- • Optional: Chocolate drizzle for garnish
Instructions
Step 1: Preheat Oven
Preheat your oven to 350°F (175°C). Grease and line an 8x8-inch baking pan with parchment paper, leaving some overhang for easy removal.
Step 2: Make the Brownie Base
- Melt the butter in a medium saucepan over low heat. Remove from heat and stir in the sugar, eggs, and vanilla until well combined.
- In a separate bowl, whisk together cocoa powder, flour, salt, and baking powder.
- Gradually add the dry ingredients to the wet mixture, stirring until just combined. Do not overmix.
- Spread the brownie batter evenly into the prepared baking pan.
Step 3: Prepare the Cookies and Cream Layer
- In a medium bowl, beat the softened cream cheese until smooth.
- Add powdered sugar and vanilla extract, beating until combined.
- Gently fold in the crushed Oreos.
Step 4: Assemble the Brownies
- Spread the cookies and cream mixture evenly over the brownie batter.
- Use a knife or spatula to lightly swirl the two layers together.
- Sprinkle the additional crushed Oreos on top.
Step 5: Bake
- Bake for 25–30 minutes, or until the edges are set and a toothpick inserted in the center comes out with a few moist crumbs.
- Let cool completely in the pan on a wire rack before lifting out using the parchment paper.
Step 6: Serve
Once cooled, cut into squares and serve. Drizzle with chocolate if desired.