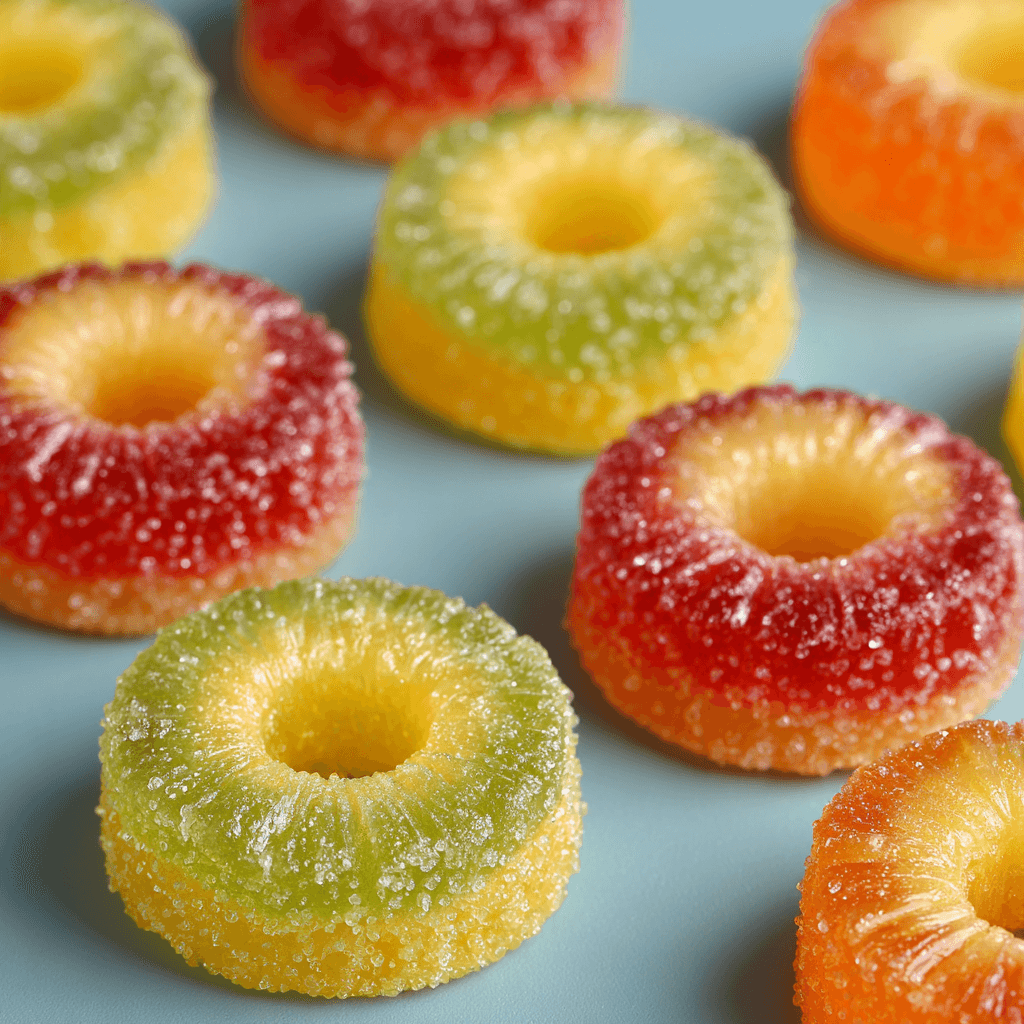
Candied Pineapple Skittle Rings are a fun and colorful treat that combines the tropical sweetness of pineapple with the chewy, fruity flavor of Skittles. These delightful rings are perfect for parties, snacks, or as a unique addition to dessert platters. They’re easy to make and sure to be a hit with both kids and adults!
Ingredients List
For the Candied Pineapple:
- 1 medium fresh pineapple
- 1 cup granulated sugar
- 1 cup water
- 1 cup Skittles (any variety or a mix)
Timing
Preparing Candied Pineapple Skittle Rings takes about 15 minutes of prep time and 30 minutes of cooking time. Total time is approximately 45 minutes.
Step-by-Step Instructions
Step 1: Prepare the Pineapple
- Cut the Pineapple: Peel and core the pineapple. Slice it into rings about ½ inch thick.
- Remove the Core: Use a small round cutter or a knife to remove the tough core from each ring.
Step 2: Make the Sugar Syrup
- Combine Sugar and Water: In a medium saucepan, combine the granulated sugar and water.
- Heat the Mixture: Bring the mixture to a boil over medium heat, stirring until the sugar is completely dissolved. Remove from heat and let it cool slightly.
Step 3: Candy the Pineapple
- Soak the Rings: Place the pineapple rings in the warm sugar syrup, ensuring they are fully submerged. Let them soak for about 20 minutes.
- Simmer the Rings: After soaking, return the saucepan to low heat and simmer the pineapple rings in the syrup for an additional 10 minutes. This will help them absorb more of the sweetness.
Step 4: Add the Skittles
- Prepare Skittles: While the pineapple is simmering, crush the Skittles into small pieces using a rolling pin or a food processor. You can separate them by color if desired for a rainbow effect.
- Coat the Rings: After simmering, remove the pineapple rings from the syrup and allow them to cool slightly. While they are still sticky, sprinkle the crushed Skittles generously over both sides of the rings, pressing gently to adhere.
Step 5: Dry the Rings
- Let Them Dry: Place the coated pineapple rings on a wire rack or parchment-lined baking sheet. Allow them to dry at room temperature for about 1–2 hours, or until the Skittles have set and the rings are no longer sticky.
Step 6: Serve
- Enjoy: Once the rings are dried, they are ready to serve! Enjoy them as a fun snack or use them as a colorful garnish for desserts.
Nutritional Information
Here’s a quick glance at the nutritional profile of Candied Pineapple Skittle Rings (per ring, assuming 10 rings):
| Nutrient | Amount per Ring |
|---|---|
| Calories | 70 |
| Protein | 0g |
| Fat | 0g |
| Carbohydrates | 18g |
| Fiber | 1g |
Healthier Alternatives for the Recipe
- Use less sugar in the syrup by reducing the amount or using a sugar substitute.
- Opt for natural fruit gummies instead of Skittles for a more natural flavor.
- Serve with fresh fruit for added nutrients.
Serving Suggestions
- Serve with ice cream for a fun dessert.
- Add to fruit salads for a colorful addition.
- Use as a garnish on cakes or cupcakes.
Common Mistakes to Avoid
- Not Soaking Long Enough: Ensure the pineapple rings soak long enough in the syrup to absorb the sweetness.
- Overheating the Syrup: Avoid boiling the syrup too long; you want it to dissolve the sugar without caramelizing.
- Skipping the Drying Step: Allow the rings to dry properly to ensure the Skittles adhere and do not become sticky again.
Storing Tips for the Recipe
Candied Pineapple Skittle Rings can be stored in an airtight container at room temperature for up to 5 days. Keep them away from humidity to maintain their texture.
Conclusion
In just about 45 minutes, you can create Candied Pineapple Skittle Rings that are not only visually appealing but also bursting with flavor. These treats are perfect for any occasion and will surely bring a smile to anyone who tries them!
FAQs
Can I make these rings ahead of time?
Yes! You can prepare the rings in advance and store them in an airtight container until you’re ready to serve.
Can I use canned pineapple?
Yes, you can use canned pineapple rings, but fresh pineapple will yield the best texture and flavor.
What can I do if I have leftovers?
Store any leftover rings in an airtight container at room temperature for up to 5 days.
Can I customize the recipe?
Absolutely! Feel free to experiment with different flavors of Skittles or even add other candies for variety.
Candied Pineapple Skittle Rings Recipe
Ingredients
- For the Candied Pineapple:
- • 1 medium fresh pineapple
- • 1 cup granulated sugar
- • 1 cup water
- • 1 cup Skittles (any variety or a mix)
Instructions
Step 1: Prepare the Pineapple
- Peel and core the pineapple. Slice it into rings about ½ inch thick.
- Use a small round cutter or a knife to remove the tough core from each ring.
Step 2: Make the Sugar Syrup
- In a medium saucepan, combine the granulated sugar and water.
- Bring the mixture to a boil over medium heat, stirring until the sugar dissolves. Remove from heat and let it cool slightly.
Step 3: Candy the Pineapple
- Place the pineapple rings in the warm sugar syrup, ensuring they’re fully submerged. Let them soak for about 20 minutes.
- Return the saucepan to low heat and simmer the rings in the syrup for 10 more minutes to absorb sweetness.
Step 4: Add the Skittles
- Crush the Skittles into small pieces using a rolling pin or food processor. Separate by color if you want a rainbow look.
- Remove the pineapple rings from the syrup and let them cool slightly. While still sticky, sprinkle and press the crushed Skittles onto both sides.
Step 5: Dry the Rings
- Place the coated pineapple rings on a wire rack or parchment-lined baking sheet.
- Let them dry at room temperature for 1–2 hours until the Skittles have set and the rings aren’t sticky.
Step 6: Serve
- Once dry, serve the rings as a colorful snack or dessert garnish.