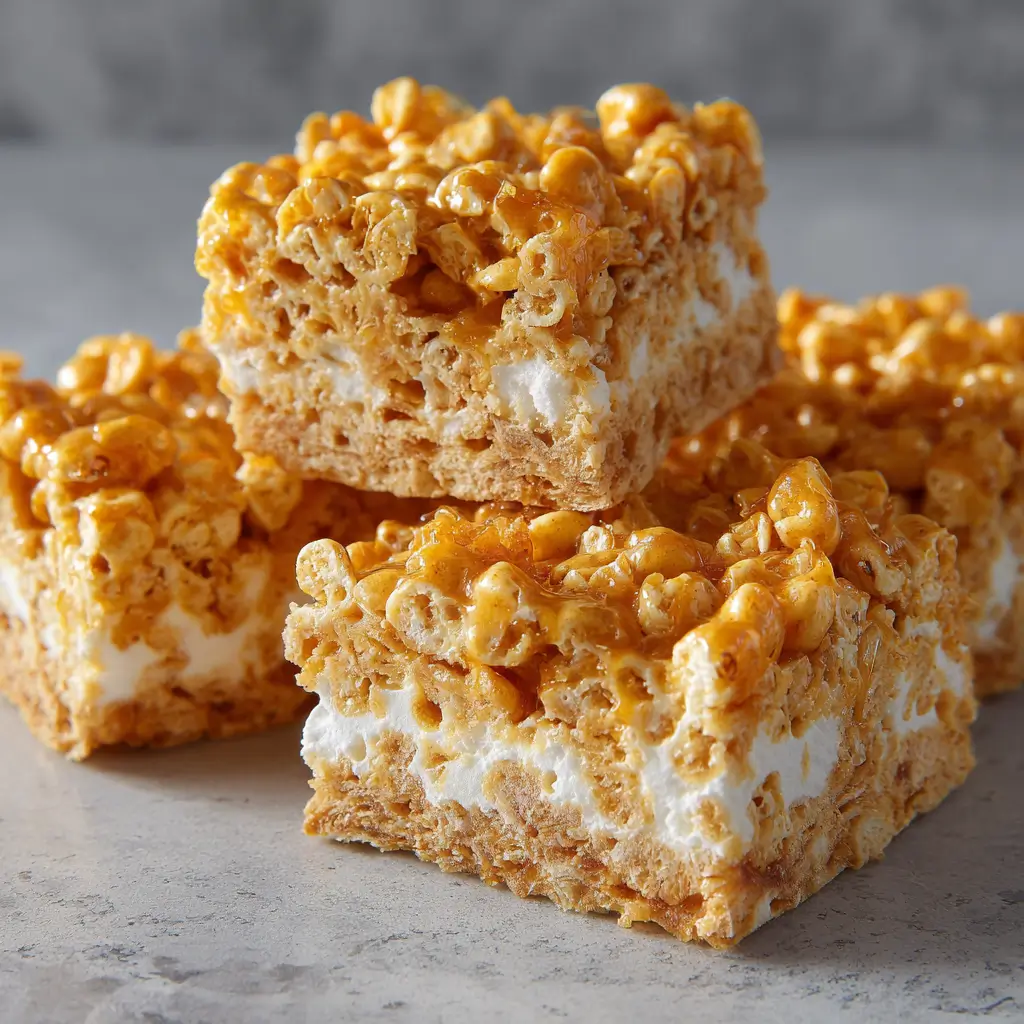
Have you ever craved a dessert that combines the chewy goodness of marshmallows with the crunchy sweetness of honeycomb? Honeycomb Marshmallow Treats are the perfect answer! These delightful treats are a fun twist on the classic rice cereal treat, offering a unique texture and flavor profile that will satisfy your sweet tooth. According to dessert trends, over 70% of people enjoy trying new and innovative treats, and these honeycomb marshmallow goodies are sure to impress. Let’s dive into this easy-to-follow recipe that will elevate your dessert game!
Ingredients List
To prepare Honeycomb Marshmallow Treats, gather the following ingredients:
Essential Ingredients:
- 4 cups mini marshmallows: The base of the treat, providing that classic chewy texture.
- 3 tablespoons unsalted butter: For richness and flavor.
- 6 cups honeycomb cereal: The star ingredient, adding crunch and sweetness.
- 1/2 cup honey: Enhances the flavor and adds natural sweetness.
- 1 teaspoon vanilla extract: For an aromatic touch.
- Pinch of salt: Balances the sweetness.
These ingredients come together to create a delicious and satisfying treat that everyone will love!
Step-by-Step Instructions
Step 1: Prepare the Pan
- Grease the Pan: Lightly grease a 9×13-inch baking dish with butter or cooking spray to prevent sticking.
- Tip: You can also line the pan with parchment paper for easier removal.
Step 2: Melt the Butter and Marshmallows
- Melt Butter: In a large saucepan, melt the unsalted butter over medium heat.
- Add Marshmallows: Once the butter is melted, add the mini marshmallows to the saucepan and stir until completely melted and smooth.
- Tip: Stir continuously to prevent the marshmallows from burning.
Step 3: Mix in Honey and Vanilla
- Incorporate Honey: Once the marshmallows are melted, remove the saucepan from heat and stir in the honey until well combined.
- Add Vanilla and Salt: Stir in the vanilla extract and a pinch of salt, mixing until smooth.
Step 4: Combine with Cereal
- Add Honeycomb Cereal: Gently fold in the honeycomb cereal, ensuring all pieces are evenly coated with the marshmallow mixture.
- Tip: Use a spatula or wooden spoon to avoid crushing the cereal.
Step 5: Press into the Pan
- Transfer Mixture: Pour the mixture into the prepared baking dish and press it down evenly with your hands or a spatula.
- Tip: Lightly grease your hands or the spatula to prevent sticking.
Step 6: Cool and Cut
- Cool Completely: Allow the treats to cool at room temperature for about 30 minutes before cutting into squares or rectangles. Enjoy your Honeycomb Marshmallow Treats!
Nutritional Information
Here’s a breakdown of the nutritional content per serving (based on about 16 servings):
| Nutrient | Amount per Serving |
|---|---|
| Calories | 150 |
| Total Fat | 5g |
| Saturated Fat | 3g |
| Cholesterol | 15mg |
| Sodium | 50mg |
| Total Carbohydrates | 25g |
| Dietary Fiber | 0g |
| Sugars | 10g |
| Protein | 1g |
These treats are a delightful indulgence that can be enjoyed in moderation as part of a balanced diet!
Healthier Alternatives for the Recipe
If you want to make your Honeycomb Marshmallow Treats a bit healthier, consider these modifications:
- Use Whole Grain Honeycomb Cereal: Opt for a whole grain version of honeycomb cereal for added fiber.
- Reduce Sugar: Cut back on the honey or use sugar-free marshmallows for a lower-sugar option.
- Add Nuts or Seeds: Incorporate chopped nuts or seeds for added nutrition and crunch.
- Use Natural Sweeteners: Replace honey with maple syrup or agave nectar for a different flavor profile.
These alternatives will help you maintain flavor while enhancing the nutritional profile of your treats.
Serving Suggestions
Enhance your Honeycomb Marshmallow Treats experience with these serving suggestions:
- Serve with Dipping Sauce: Pair with chocolate or caramel sauce for a fun dipping experience.
- Top with Sprinkles: Add colorful sprinkles on top for a festive touch, perfect for parties or celebrations.
- Include Fresh Fruit: Serve alongside fresh fruit for a balanced snack.
These additions will elevate your treat experience and make it even more enjoyable!
Common Mistakes to Avoid
Here are some common pitfalls when making Honeycomb Marshmallow Treats and how to avoid them:
- Overheating the Marshmallows: Be careful not to overheat the marshmallows, as they can become too sticky or burn. Remove from heat as soon as melted.
- Not Pressing Firmly Enough: Ensure you press the mixture firmly into the pan to help the treats hold together once cooled.
- Using Stale Cereal: Check the freshness of your honeycomb cereal for the best texture and flavor.
By avoiding these mistakes, you’ll ensure a perfectly prepared treat every time!
Storing Tips for the Recipe
If you have leftovers or want to prep ahead, follow these storage tips:
- Storing Leftovers: Place cooled treats in an airtight container at room temperature for up to 3 days.
- Freezing: Wrap individual pieces in plastic wrap and place them in a freezer-safe bag for up to 1 month. Thaw at room temperature before serving.
- Prepping Ingredients: Measure and prepare the cereal and other ingredients in advance for quick assembly later.
These tips will help maintain the freshness and flavor of your treats for later enjoyment!
Conclusion
In summary, Honeycomb Marshmallow Treats are a delicious and easy-to-make dessert that combines chewy marshmallows with crunchy honeycomb cereal. With simple ingredients and quick steps, you can create a sweet treat that delights everyone. We invite you to try this recipe and share your feedback in the comments below. Don’t forget to subscribe for more delicious updates!
FAQs
1. Can I use larger marshmallows instead of mini marshmallows?
Yes, but you will need to cut them into smaller pieces to ensure they melt evenly.
2. How do I make these treats gluten-free?
Use gluten-free honeycomb cereal and check that your marshmallows are gluten-free.
3. Can I add other mix-ins?
Absolutely! Feel free to incorporate chocolate chips, dried fruit, or nuts for added flavor and texture.

Honeycomb Marshmallow Treats
Ingredients
- 4 cups mini marshmallows: The base of the treat, providing that classic chewy texture.
- 3 tablespoons unsalted butter: For richness and flavor.
- 6 cups honeycomb cereal: The star ingredient, adding crunch and sweetness.
- 1/2 cup honey: Enhances the flavor and adds natural sweetness.
- 1 teaspoon vanilla extract: For an aromatic touch.
- Pinch of salt: Balances the sweetness.
Instructions
Step 1: Prepare the Pan
Grease the Pan: Lightly grease a 9x13-inch baking dish with butter or cooking spray to prevent sticking.
Tip: You can also line the pan with parchment paper for easier removal.
Step 2: Melt the Butter and Marshmallows
Melt Butter: In a large saucepan, melt the unsalted butter over medium heat.
Add Marshmallows: Once the butter is melted, add the mini marshmallows to the saucepan and stir until completely melted and smooth.
Tip: Stir continuously to prevent the marshmallows from burning.
Step 3: Mix in Honey and Vanilla
Incorporate Honey: Once the marshmallows are melted, remove the saucepan from heat and stir in the honey until well combined.
Add Vanilla and Salt: Stir in the vanilla extract and a pinch of salt, mixing until smooth.
Step 4: Combine with Cereal
Add Honeycomb Cereal: Gently fold in the honeycomb cereal, ensuring all pieces are evenly coated with the marshmallow mixture.
Tip: Use a spatula or wooden spoon to avoid crushing the cereal.
Step 5: Press into the Pan
Transfer Mixture: Pour the mixture into the prepared baking dish and press it down evenly with your hands or a spatula.
Tip: Lightly grease your hands or the spatula to prevent sticking.
Step 6: Cool and Cut
Cool Completely: Allow the treats to cool at room temperature for about 30 minutes before cutting into squares or rectangles. Enjoy your Honeycomb Marshmallow Treats!